& to all a good night

My new sign this year.

It begins, as all my sign projects do, with
a trip into the garage for a piece of scrap
wood. We cut off the uneven pieces a bit
but didn't straighten it out any more
than that. It still has a rustic edge.

Painted it white.

Sanded the edges.

I found a font I liked and just kept enlarging
a photo of it until I had it large enough for
my board. Later I did find the font's name.
It's Boho Script. Note: I always space my
saying on the board without having to worry
about the length. I just cut the board when
I'm done to the proper length.

I lay the 3 pieces of copies on the board.
Then I used carbon paper between the
paper and board to outline the words.

That's the easiest way to transfer any
lettering. It's the method I use
on all my signs.

I lift the paper and carbon a few times
to make sure I got all the lines. Note the
"g" loop is not complete. Easy fix..

Then I use a Sharpie to paint in the letters.

I will hang this over the bed or give
it as a gift and make another one.

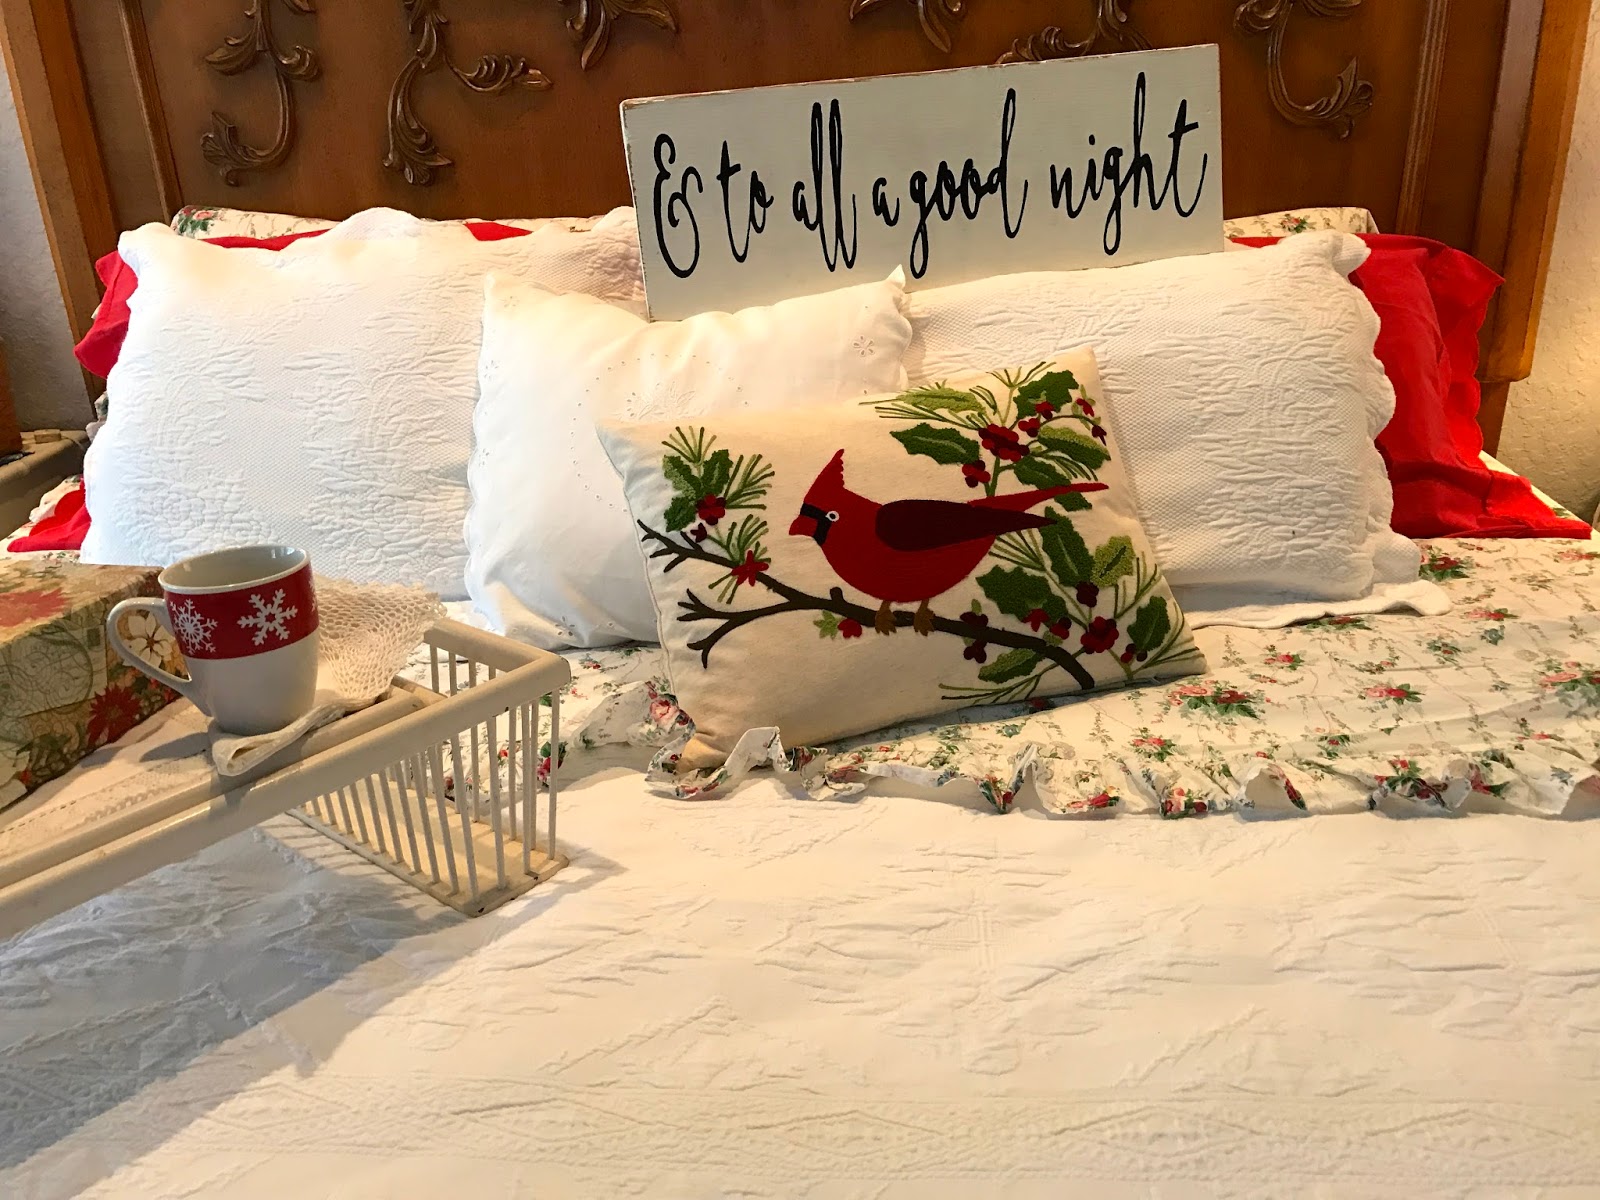
All finished and on my Christmas bed.

Attach hangers to back for hanging as i
did in this post HERE.
I think this is such a fun scripty font.

If you can't find it you could enlarge the pic
above and use that .

I really get lost in font land...so many
I've already downloaded for free.
Let me know if you've made a new sign
for this Christmas. It's addicting,
especially when they are so easy and
free to make.
Cheers!


.JPG)


 Frankfurt Am Main Time


Your sign is adorable! Thanks for the explanation on how to make our own. Hugs,
ReplyDelete