Showing posts with label DIY. Show all posts

Monday, November 28, 2016

DIY Christmas Sign

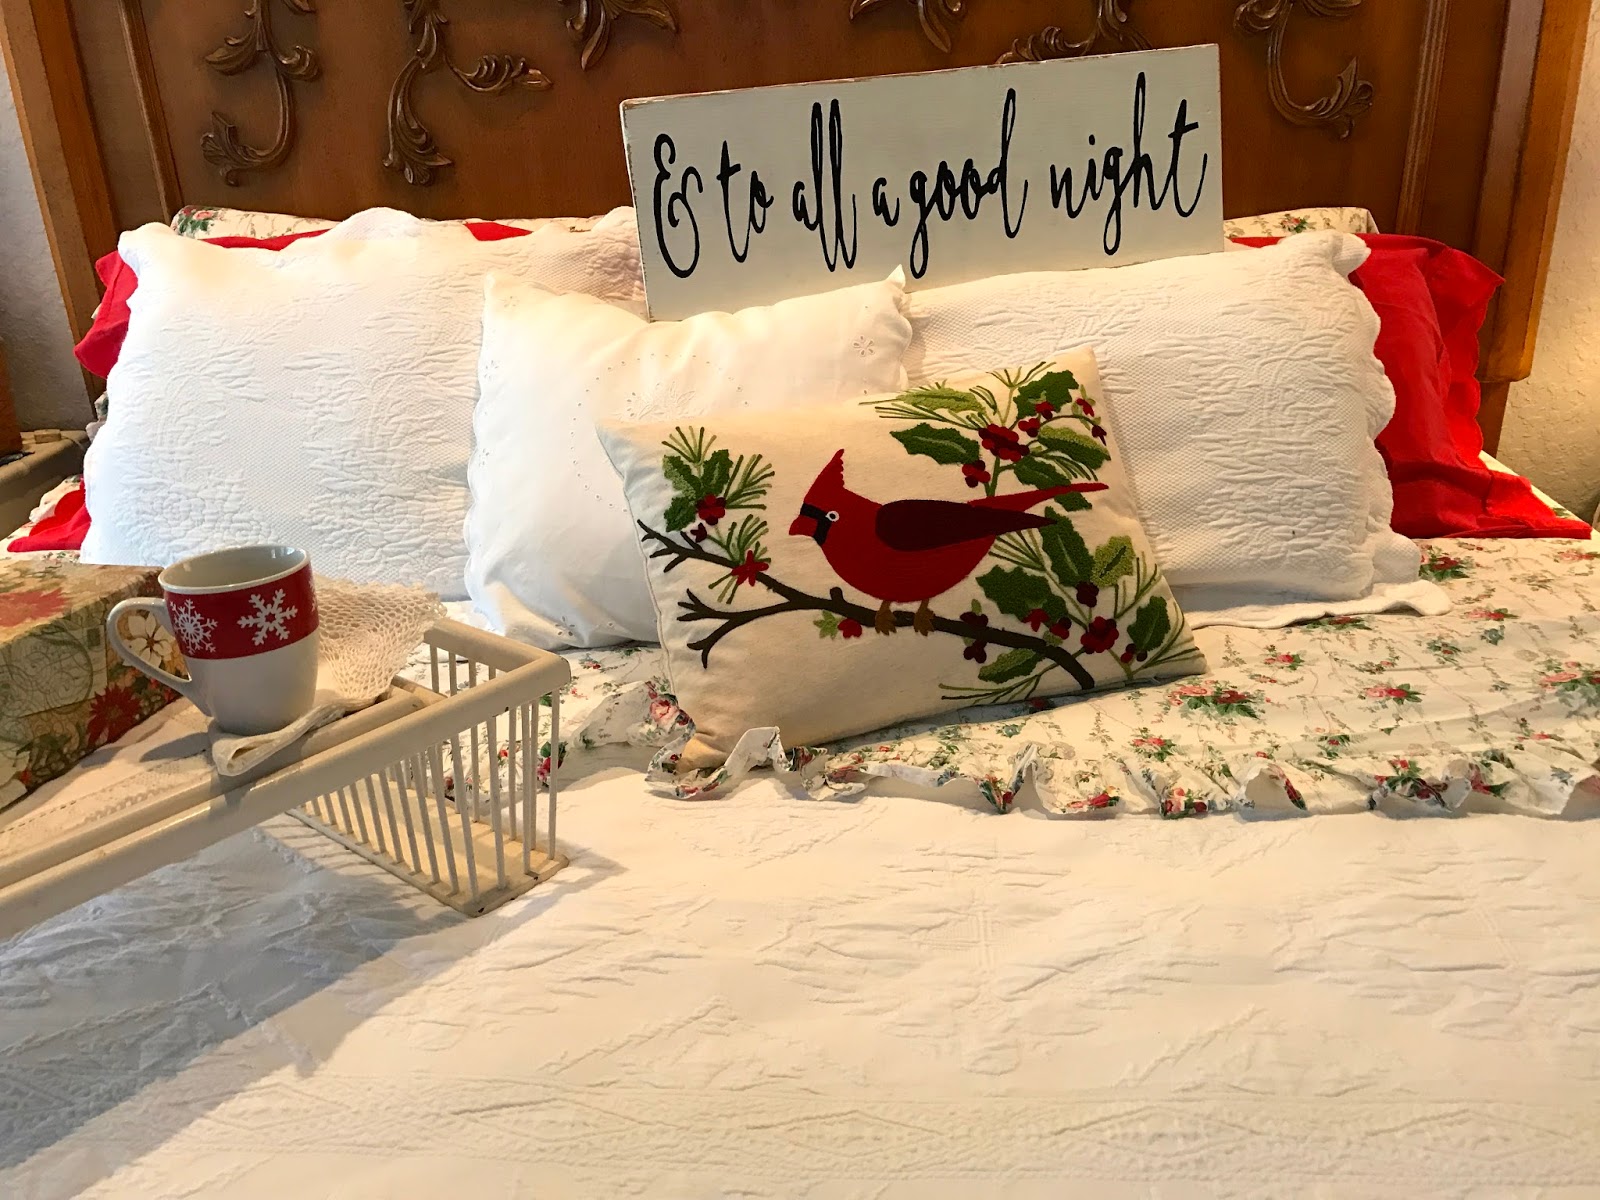
& to all a good night
My new sign this year.
It begins, as all my sign projects do, with
a trip into the garage for a piece of scrap
 wood. We cut off the uneven pieces a bit 
 but didn't straighten it out any more 
than that. It still has a rustic edge.
 Painted it white. 
 Sanded the edges. 
 I found a font I liked and just kept enlarging
a photo of it until I had it large enough for 
my board. Later I did find the font's name. 
It's Boho Script. Note: I always space my
 saying on the board without having to worry
 about the length. I just cut the board when 
I'm done to the proper length. 
 I lay the 3 pieces of copies on the board. 
Then I used carbon paper between the
 paper and board to outline the words.
That's the easiest way to transfer any
lettering. It's the method I use 
on all my signs.
 I lift the paper and carbon a few times
to make sure I got all the lines. Note the
  "g" loop is not complete. Easy fix.. 
Then I use a Sharpie to paint in the letters.
 I will hang this over the bed or give
it as a gift and make another one. 
 All finished and on my Christmas bed.
 Attach hangers to back for hanging as i
did in this post HERE.
 I think this is such a fun scripty font.
If you can't find it you could enlarge the pic
above and use that .
I really get lost in font land...so many 
I've already downloaded for free. 
Let me know if you've made a new sign
for this Christmas. It's addicting, 
especially when they are so easy and
free to make. 

Cheers!


Tuesday, April 19, 2016

DIY Plastic Bag Dispenser

Here's a great way to store your plastic
grocery bags so they pop up like tissues.
This will keep all those bags under
control and save space.
Stuff a bag into an empty tissue
 box. Make several while you're at it..
Keep the handles sticking out.
 Loop another bag through the handles.
 Now tuck that bag down in the box 
leaving the handles sticking out.
 Thread another bag through those 
handles. Repeat until the box is full.
 Tuck the bags down leaving the top 
bag's handles sticking out.
 Now when you need a bag, 
just pull one out.
 The next bag will pop up.
Viola!
Ready to pull out. 
A self-dispensing bag box.
I keep one in a basket by the front door
for my walks with Sofie. I also keep one under
the kitchen sink, one in the car trunk, and one 
in the van to replenish the trash bin. 

Cheers!

Follow me on Facebook!
Links: Between Naps On The porch

Monday, February 22, 2016

DIY Dry Erase Menu Board

You can keep your menus for 
the week well planned with this
personalized easy project.
All you need to do is use Word to
choose your fonts, colors, and special
message, like 'Guten Appetit' or
'Mom's Cafe' or whatever you like.
 Print it out. Trim to fit a 8x10
frame using the glass to trace the size.
 It would be nice to print out a menu
when you are entertaining for the holidays.
It would be easy to add Easter, Thanksgiving, 
or Christmas themes. 

 Then you'll use a dry erase marker to
write onto the glass and easily wipe 
off each week. 
Hang this on the wall 
if you're short of counter space. 

Cheers!

Wednesday, December 9, 2015

DIY Christmas Tree Napkin Fold

Here's an easy way to dazzle your family
 and friends.
OK, maybe that's a tad too exuberant, but I
 do love this easy napkin fold that I've been 
using for all my table settings in December.
This is a good job for the kids and they will 
have just as much fun folding napkins as 
you do. Again...too exuberant. You can even 
embellish them with a little star on top and 
a piece of a fat pretzel for the stem.
Ha! Fun right!? 
Green napkins are great, but you can use
any color or even a print.
Here we go:
 These dark green napkins have a holly 
design. I found them at a thrift store this week
 for 25¢ and knew just how I'd be using them. 
 Fold you napkin in half.
 Fold in half again to make a square.
 Start to fold the layers up leaving about
 a ½" space between layers.
 Keep folding up.
 When you are done, flip the napkin over.
 This is the back side.
Fold one side of the napkin over the back. 
It should line up like this. 
 Fold over the other side.
 Now flip the napkin back over.
 Now you will fold the tree shape.
 Just fold over the pointy tips.
Tuck each pointy tip under the fold above.
Keep folding and tucking.
Now fold in the bottom. 
VIOLA!
I hope you enjoy and use these!
Cheers!


Facebook,